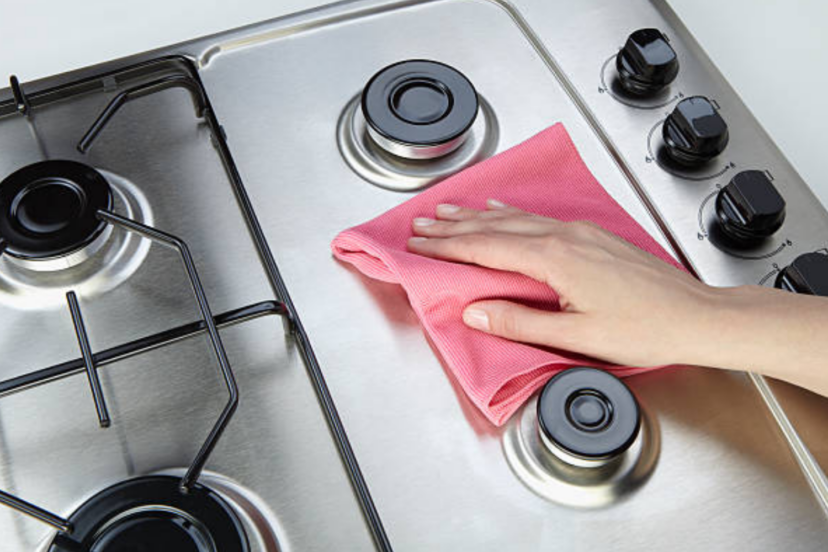
The Art of Stainless Steel Polishing
Stainless steel appliances exude a timeless elegance, but over time, they can lose their luster due to fingerprints, stains, and general wear and tear. The Art of Stainless Steel Polishing enter the humble kitchen staple: flour. In this guide, we will delve into the intricate process of revitalizing your stainless steel surfaces using a homemade flour paste. This natural and cost-effective method is a game-changer for restoring brilliance to your kitchen.
I. Understanding the Science Behind Flour Paste
A. Why Flour?
- Stainless steel, while resistant to many forms of corrosion, can still accumulate stains and marks. Flour, when combined with water, creates a gentle abrasive paste that effectively lifts dirt without scratching the surface.
B. The Gentle Power of Abrasion
- Flour particles work as micro-abrasives, gently scouring away impurities. Unlike harsh chemicals or abrasive materials, flour paste provides a safe and effective cleaning solution.
II. Gathering Your Supplies
A. Essentials
- All-Purpose Flour: Opt for a fine-grain flour like all-purpose or pastry flour for the best results.
- Water: Distilled or tap water will do the trick.
- Microfiber Cloth: Ideal for buffing and polishing.
- Soft Bristle Brush: A toothbrush or a small, soft-bristle brush will help reach crevices.
- Spray Bottle with Water: Used to moisten the surface before application.
B. Optional Additions
- Vinegar: For additional shine and to remove water spots.
- Lemon Juice: Adds a fresh scent and enhances the cleaning power.
III. Preparing and Applying the Flour Paste
A. Creating the Paste
- Mixing Ratio: Combine one cup of flour with enough water to form a thick, spreadable paste.
- Consistency Check: The paste should be smooth and free of lumps, ensuring even application.
B. Prepping the Surface
- Surface Cleaning: Remove loose debris and wipe the surface with a damp cloth.
- Moisten the Surface: Lightly mist the stainless steel with water using a spray bottle.
C. Application Technique
- Even Spread: Apply the flour paste evenly over the surface using a soft cloth or sponge.
- Circular Motion: Gently rub the paste in circular motions, paying extra attention to any stained areas.
- Let It Sit: Allow the paste to sit for 5-10 minutes, giving it time to work its magic.
IV. The Art of Polishing
A. Buffing for Brilliance
- Microfiber Cloth Magic: Using a clean microfiber cloth, buff the surface in long, even strokes.
- The Final Shine: Continue buffing until the stainless steel gleams with a mirror-like finish.
B. Addressing Stubborn Stains
- Spot Treatment: For persistent stains, create a thicker paste and apply directly to the problem area.
- Patience is Key: Allow the paste to sit for a few extra minutes before gentle scrubbing.
V. Additional Tips and Considerations
A. Sealing the Shine
- Vinegar Rinse: A mixture of water and vinegar can be used as a final rinse for added shine and to remove any residual flour.
B. Routine Maintenance
- Avoid Abrasives: Stay away from abrasive scouring pads or harsh chemicals that can damage the stainless steel.
- Regular Wiping: Keep your stainless steel surfaces clean and dry to prevent future stains.
Conclusion
With a bit of flour, water, and some elbow grease, you can transform your dull stainless steel surfaces into radiant focal points in your kitchen. This natural and cost-effective method not only brings back the shine but also ensures the longevity of your stainless steel appliances. Embrace the flour paste magic and watch your kitchen gleam with brilliance once more.

